How do I create a Task?
Tasks in Fixably are flexible, user-created fields on an Order that allow multiple data types to be captured from a Customer or User.

Written by Annukka Matilainen
Updated at November 4th, 2026
Table of Contents
What is a Task?
A Task is a custom question or field you add to an order to capture extra information that isn't covered by the standard device and customer details. Think of Tasks as your own checklist items — for example "Is the device password protected?", "Does the charger come with the device?", or "Backup completed?". Whenever a Task is used, the answer is stored on the order and displayed alongside the device and customer information, so anyone working on the order can see it at a glance.
What can Tasks do?
Tasks give you a flexible way to standardize the information your team collects and to make sure nothing is missed. In practice, Tasks let you:
- Capture the right details every time — instead of relying on free-form notes, a Task prompts your team (or your customer) for a specific answer in a consistent format.
- Tailor questions to the device — by assigning a Task to one or more Queues, you only see the questions relevant to the type of device being repaired.
- Limit questions by location — Tasks can be assigned to specific Locations, so each site only sees the Tasks that apply to it.
- Collect information from customers — Tasks can be asked of customers online, in two places: in the booking portal when they book an appointment (tick Show in Booking App), and in the Customer Portal when they create a repair order (tick Show in Customer Portal). The same task can be asked in both.
- Power your automations — Tasks can be read and set by Macros, letting you automate workflow steps based on the answers given.
Understanding and Creating Tasks
Administrators can create new or modify existing Tasks.
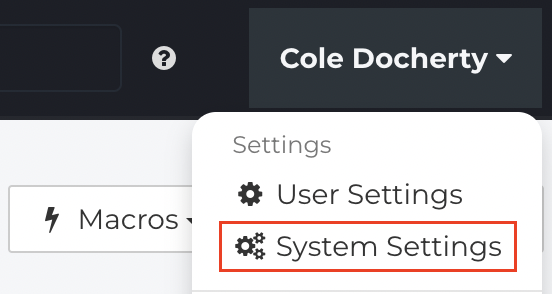
- From the Fixably Home Screen, click on your User Name menu and then System Settings.
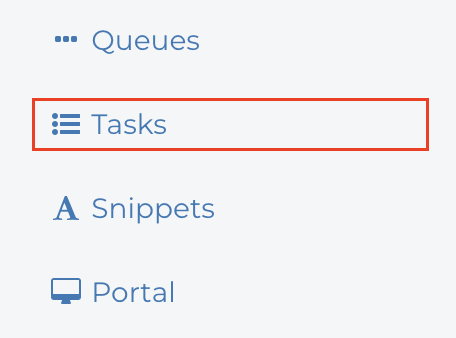
- From the Settings Menu, click Tasks.
- Click New Task.
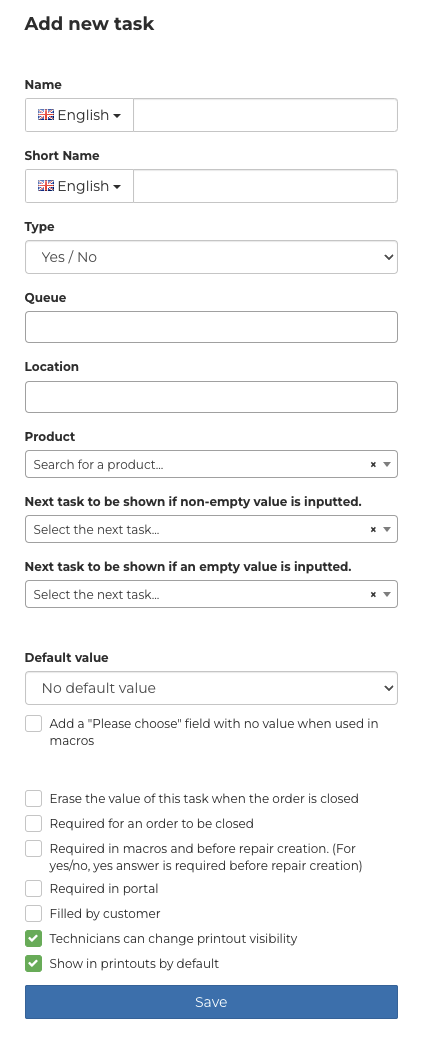
- Fill in any required fields. When complete, click Save.
-
Name - This name is visible in Macros, the booking portal and the Customer Portal when the Task is used.

-
Short Name - This name is used on Printouts and when viewing an Order.

-
Type - There are seven types of tasks that you can create, each with a different use:
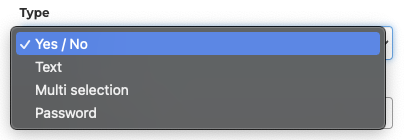
Types of Tasks
| Type | What it does |
|---|---|
| Yes / No | A Yes or No answer. |
| Text | Free-form text field. |
| Select | A dropdown with the answers you define in the Task. One answer can be picked. |
| Multi Select | A list of the answers you define in the Task. Several answers can be picked. |
| Password | Free-form text field, but the value is encrypted. |
| Date | A date picker. |
| Time | A time picker. |
-
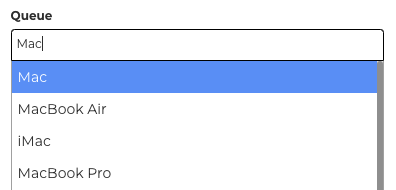
Queue - Assign the Task to any required Queues. This allows you to tailor the information needed more closely with the type of device in the queue.
-
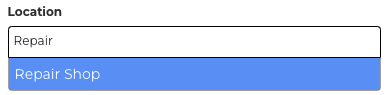
Location - If required, you can assign tasks to specific Locations. This field can be left blank if the Task is applied to all locations.
-
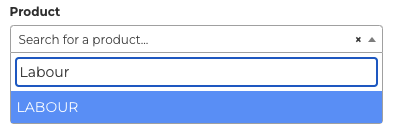
Product - If required, you can link a Product to the Task. A Yes / No task with a Product is shown in the Customer Portal as a priced checkbox under Optional products. When the customer ticks it, the product is added to the order. See Customizing the new order page in the Customer Portal.
-
Next Task Options - When used in a Macro, a Task's value can trigger another Task. In the Customer Portal, the same options drive follow-up questions: the answer a customer gives can bring up the next Task.
-
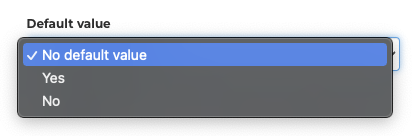
Default value - specify the default value that appears when the Task is used.
-
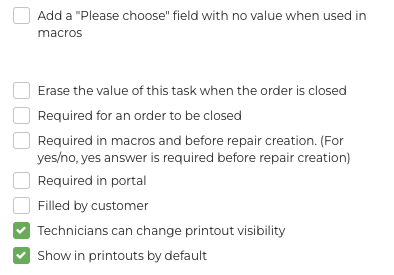
Additional Options
Asking Tasks in the booking portal and the Customer Portal
Each portal has its own pair of checkboxes on the Task, so you choose per Task where it is asked. The same Task can be asked in both.
- Booking portal, when customers book an appointment: Show in Booking App asks the question, and Required in Booking App makes an answer mandatory.
- Customer Portal, when customers create a repair order: Show in Customer Portal asks the question, and Required in Customer Portal makes an answer mandatory.
To see the questions in context, read Setting up a mail-in service type in the booking app and Customizing the new order page in the Customer Portal.