How do I enable and use the Tyro payment integration?
This is a step-by-step walkthrough on how to set up and use Tyro as a payment method. If you would like to use this integration, please contact customer.success@fixably.com for more details.

Written by Annukka Matilainen
Updated at May 19th, 2026
Table of Contents
Integration Availability
Tyro is available for customers on Fixably Enterprise agreements. To have the feature enabled in your tenant, please reach out to support@fixably.com.
For tenants on Premium, Basic or Legacy agreements, please reach out to customer.success@fixably.com for more details.
Enabling Tyro
- Go to System Settings > Integrations > Tyro. Click the checkbox next to Enable and Save.
- Enter the API token provided from Tyro > Save.
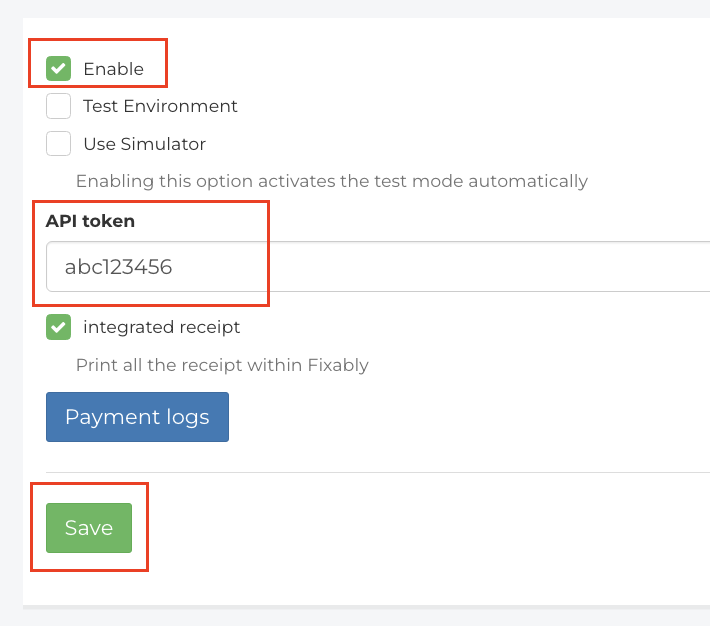
- In this section you can also enable integrating the receipts into Fixably by enabling "Integrate receipt" and Save.
Adding a terminal
- Go to System Settings > Locations & Stores. Click the gear next to the location you would like to add a terminal to and click Advanced Settings.
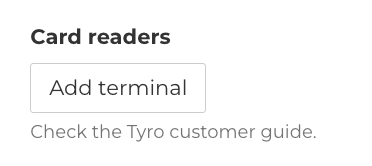
- In the Advanced Settings there will be an option for Card readers. Click Add terminal.
- Add the Name of the terminal, Merchant ID and Terminal ID and click Pair.
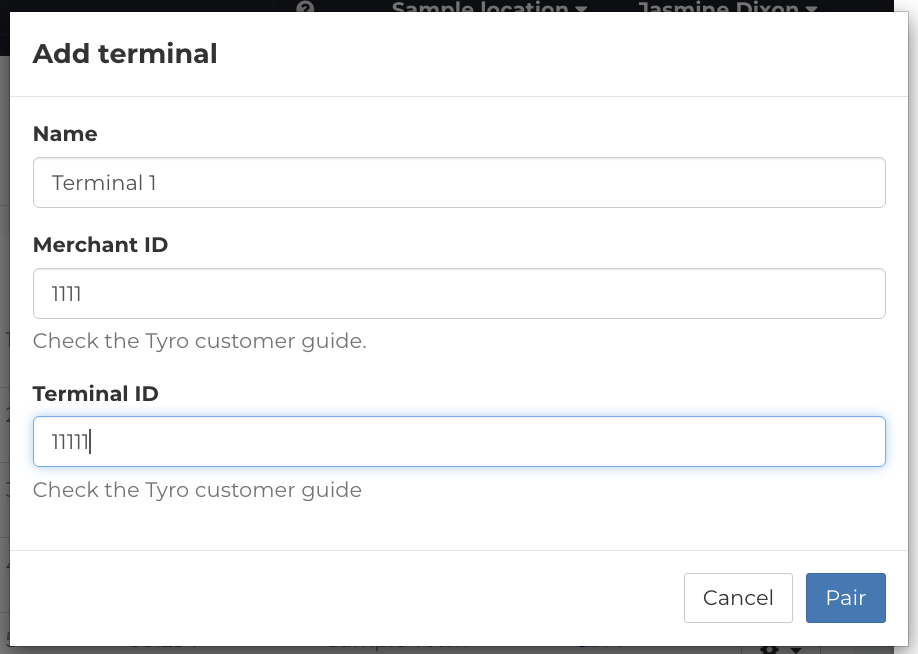
- Complete any steps indicated on the terminal you are pairing with and wait for the pairing to complete.

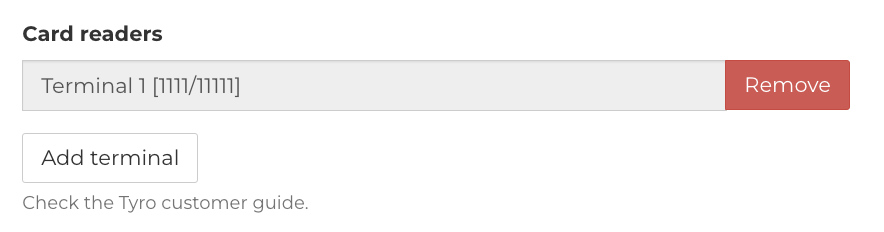
- Once pairing has completed you will be able to see the terminal listed.
Taking Payment with Tyro
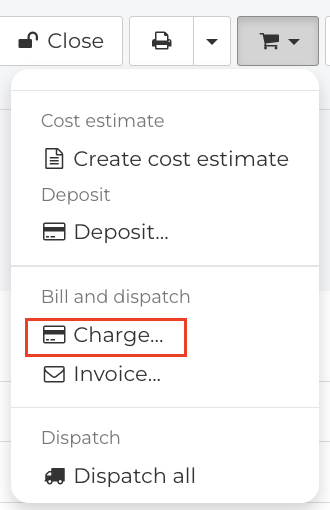
- On the order click the Shopping Cart > Charge.
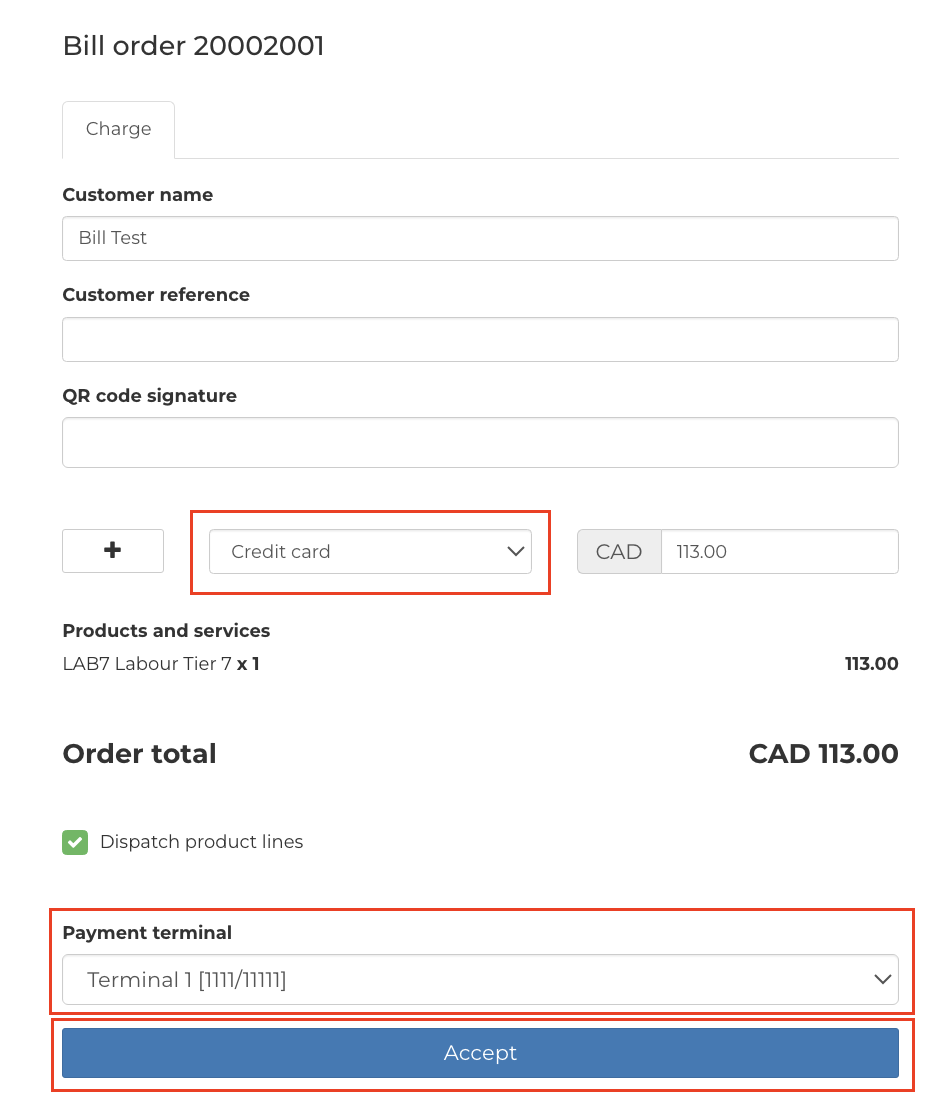
- Confirm the correct payment type and terminal are selected and click Accept.
- Complete the payment on the connected terminal.