How do I set up Order Statuses?
This article is a step-by-step guide to help Administrators configure and customize Order Statuses.

Written by Annukka Matilainen
Updated at July 22nd, 2026
- Release Notes
- Newly Released Features
- Getting Started
- Roles & Permissions
- Manifests
- Order Management
- Automations
- Employee Management
- Customer Management
- Customer Portal
- Stock Management
- Part Requests
- Price Lists
- Invoicing
- Reporting
- Custom Fields
- Integrations
- GSX
- Shipments
- Service Contracts
- Configuring Your Environment
- Incoming Part Allocation
- Appointment Booking
Table of Contents
Overview
Every order status you create in Fixably has a type. The type is more than a label. It tells Fixably how that status connects to the rest of the system, including whether it gets set automatically and whether it sets off other actions, like sending an email to a customer.
This article lists every status type, what it means, and what it triggers automatically, including which types are tied to a specific integration (such as GSX, GSPN, or DST).
Setting up Statuses
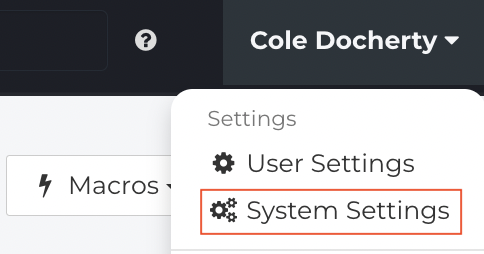
- Using an Administrator account, from the Fixably Home Screen, select your User Name menu and then click System Settings.
- From the Settings Menu, click Order Statuses.

- Click New Status.
- Enter the Name for your Order Status.

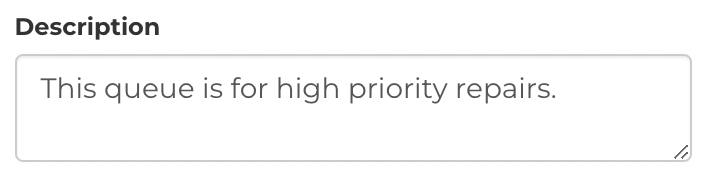
- Enter a Description.
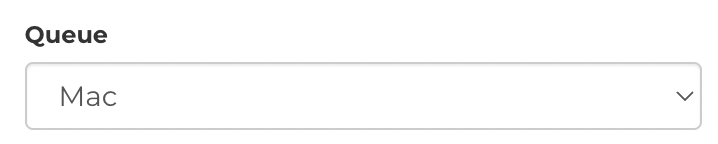
- Assign the new Order Status to a Queue.
- Select the Type of Order Status.

- Select the Time Type. This field indicates where the following expected action will come from when an Order enters this status.
- Service Provider > someone from your business needs to act next
- Customer > waiting for the customer to act next
- Third Party > waiting for a third-party (like a Vendor or Manufacturer) to act next
- Not applicable > no one is expected to act next (like when something has been picked up already)

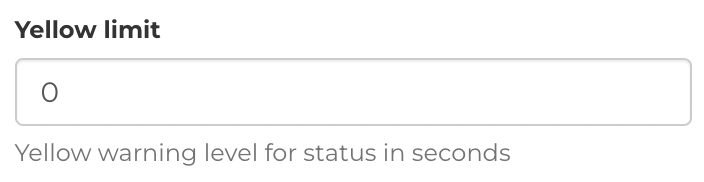
- The Yellow Limit will highlight the Order Status yellow in Order Lists after the defined seconds.
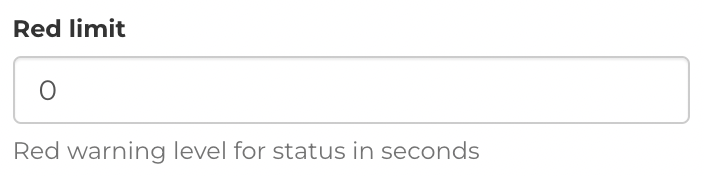
- The Red Limit will highlight the Order Status red in Order Lists after the defined seconds.
- When complete, click Save.

Status types and what they trigger
Statuses marked as tied to an integration only behave this way if your shop has that integration enabled. If the integration isn't connected, that automation simply won't happen.
Status type |
What it means |
What triggers automatically |
Tied to an integration? |
Custom |
No special system behaviour. Use this for a status your shop defines for its own purposes. |
None |
No |
In queue |
The device has been checked in and is waiting for a technician. |
Set automatically when a queue is assigned to a new order, and reset to this status whenever an order's queue is changed. |
No |
Processing |
A technician is actively working on the device. |
Set automatically when a technician is assigned to the order. |
No |
Waiting for parts |
The repair is blocked because a part is needed. |
Set automatically when a purchase order is created for the order. |
No |
Parts arrived |
The part has come in, and repair can resume. |
Set automatically once every line on the purchase order shows as arrived. |
No |
Waiting for parts from stock |
The part is available in your own stock, but hasn't been collected yet. |
Set automatically after a part is confirmed available from stock. |
Yes, GSPN |
Waiting for parts order |
The part isn't in stock and had to be ordered. |
Set automatically after a part is confirmed unavailable and must be ordered. |
Yes, GSPN |
Ready for pickup |
The repair is complete, and the device is ready for the customer to collect in person. |
Set automatically when a User clicks the “Close” button in an Order when the Delivery method is type = Pickup or Drop Off |
No |
Picked up |
The customer has collected the device. |
Set automatically when the “Order Ready” button is used and the Delivery method is type = Pickup or Drop Off |
No |
Ready to be shipped |
The repair is complete, and the device is being prepared to ship back to the customer. |
Set automatically when a User clicks the “Close” button in an Order when the Delivery method is type = Shipping |
No |
Shipped |
The device has been shipped back to the customer. |
Set automatically when the “Order Ready” button is used, and the Delivery method is type = Shipping |
No |
Waiting for processing |
The order is temporarily on hold internally before work resumes. |
Set automatically when a handler notification is created when the Order Status time type = Customer |
No |
Waiting for customer |
The order is blocked pending a response or action from the customer. |
No automation in Fixably's core system. Only set automatically when using Cello. |
Yes, Cello |
Waiting for manufacturer |
The order is blocked pending a decision from the manufacturer or another third party, such as Apple. |
Set automatically when a repair is created with manufacturer review requested. |
Yes, GSX |
Waiting return from apple |
The device has been sent to Apple and Fixably is waiting for it to come back. |
None | No |
Pending cost estimate acceptance |
A cost estimate has been sent to the customer and Fixably is waiting on their decision. |
Set automatically when a cost estimate is created and sent. |
No |
Cost estimate accepted |
The customer approved the estimate. |
Set automatically when the customer selects "approve" on the estimate. |
No |
Cost estimate rejected |
The customer declined the estimate, or it expired before they responded. |
Set automatically when the customer selects "decline" on the estimate. |
No |
Cost pending customer |
A cost or payment decision is still outstanding from the customer. |
None |
No |
Waiting for insurance company answer |
The order is blocked pending a decision from the customer's insurer. |
No automation in Fixably's core system. Only set automatically when using Caperio |
Yes, Caperio |
Cost estimate selected |
The customer chose a response option other than approve or decline. |
Set automatically when the customer picks that option. |
No |
Waiting for payment |
Fixably is waiting on payment from the customer. |
None |
No |
Waiting for fmi deactivation |
Fixably is waiting for Find My iPhone or activation lock to be turned off. |
None |
No |
Waiting for delivery |
Fixably is waiting for the device to arrive from the customer. |
None |
No |
Sent to shop |
The device has been sent to a retail location. |
No automation in Fixably's core system. Only set automatically when using DST |
Yes, DST |
Received in shop |
The device has been received at a retail location. |
No automation in Fixably's core system. Only set automatically when using DST |
Yes, DST |
In internal transit |
The device is moving between your shop's own locations. |
Set automatically when an internal transit shipment is created for the order. Also locks the order from further edits while in transit. |
No |
Cancelled |
The order has been cancelled. |
Can be set automatically by Fixably's daily cleanup job if your shop has enabled automatic cancellation for stale orders. |
No |
Appointment set |
An appointment has been scheduled. |
None |
No |
Waiting for local approval |
Fixably is waiting on a manager's local sign-off before the repair can continue. |
Set automatically when a repair enters the "pending local authorization" status in GSX. |
Yes, GSX |
Invoiced |
The order has been invoiced. |
No automation in Fixably's core system. Set automatically when a related GSPN reimbursement claim is marked processed. Also synced for integrated orders. |
Yes, Samsung reimbursements, synced through IGSPN |
Manufacturer requested more info |
The manufacturer declined the repair, or needs more information before proceeding. |
None |
No |