How do I configure the QuickBooks Online Integration?
This article is a step-by-step walkthrough of how to configure and use the QuickBooks Online integration.

Written by Annukka Matilainen
Updated at May 19th, 2026
- Release Notes
- Newly Released Features
- Getting Started
- Roles & Permissions
- Manifests
- Order Management
- Automations
- Employee Management
- Customer Management
- Customer Portal
- Stock Management
- Part Requests
- Price Lists
- Invoicing
- Reporting
- Custom Fields
- Integrations
- GSX
- Shipments
- Service Contracts
- Configuring Your Environment
- Incoming Part Allocation
- Appointment Booking
Table of Contents
The QuickBooks Online Integration enables Fixably to synchronize several types of important transactions with your accounting system. The transaction types supported are invoices, receipts, and purchase orders. For additional information about what Fixably synchronizes to QuickBooks Online refer to the table below.
Feature |
QuickBooks Online |
|---|---|
Sync New customer records when an invoice is created and synced |
Yes |
Sync Customer records when a customer is updated ** |
No |
Sync Invoices |
Yes |
Void Invoice in QB when voided in Fixably |
No |
Sync Receipts |
Yes |
Sync Purchase Orders |
Yes |
Sync New Vendors On Purchase Order Creation |
Yes |
Sync Products (as items) when a Product is created and added to an invoice |
Yes |
Sync inventory quantity |
No |
Sync Categories |
No |
Synchronize Sales Tax |
Yes |
Connecting Your QuickBooks Online Account
- In Fixably, navigate to System Settings > Integrations > Quickbooks Online
- Click Authenticate QBO.
- When prompted, sign into the QuickBooks Online account you wish to synchronize with.

Setting Up Your Accounts
- Click the Refunding account dropdown menu to select the QBO account where Refund transactions will be posted.
- Click Sales Receipt and select the QBO income account where sales receipts will be posted.
- Click Purchase orders and select the QBO AP account where purchase orders will be posted.
Customers with an Apple GSX integration must select a QBO vendor to associate GSX purchase orders to the correct vendor record.
Setting Up Tax Rate Mapping
Tax rates must be mapped between Fixably and QuickBooks Online to ensure the correct amount of tax is calculated when synchronizing invoices to QBO.
- Click Update QBO Tax Rates.
- Select the correct QBO tax rate for each Fixably tax rate.
- Click Save Settings.

Warning: At least one (1) tax rate must be defined in Fixably before configuring this feature.
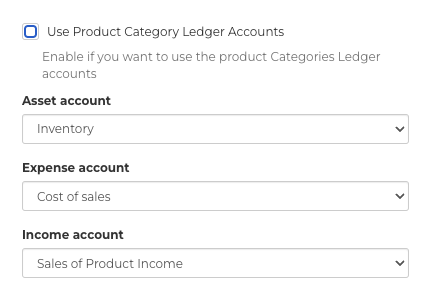
Configuring Products and Categories
- Navigate to System Settings > Product categories.
- Click the gear next to the first product category and select Edit.
- Select the appropriate Asset, Expense, and Income accounts for all products in this category to use.
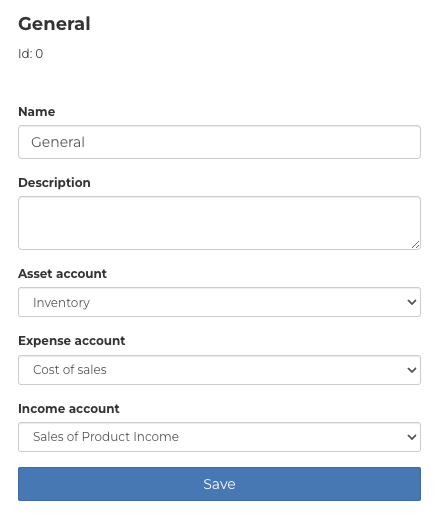
If you need to configure different accounts on a specific product, open the product and edit the Asset, Expense, and Income accounts there instead. Product accounts override product category accounts.
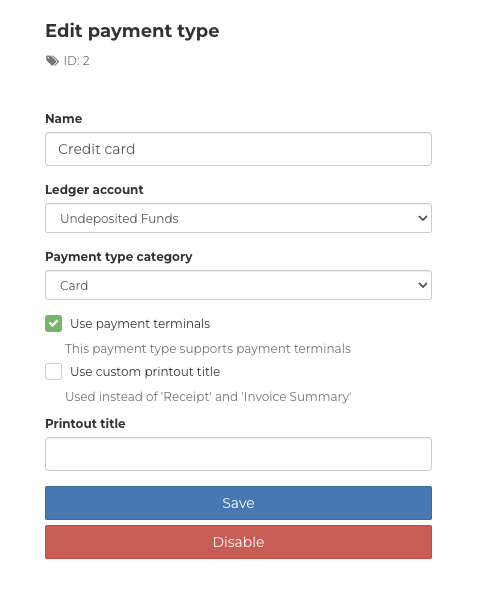
Configuring Payment Types
- Navigate to System Settings > Payment Types.
- Click the gear next to the first enabled payment type and select Edit.
- Select the QBO account to be used for payments made using the payment type.
- Click Save.
- Repeat for the remaining payment types.
Synchronizing Purchase Orders
Exporting your purchase orders is a simple task that can be completed on demand or automatically. To export your purchase orders in QuickBooks Online follow the steps below.
- Navigate to Purchase Orders.
- Select the purchase orders to export.
- Click QuickBooks Online, then Export.
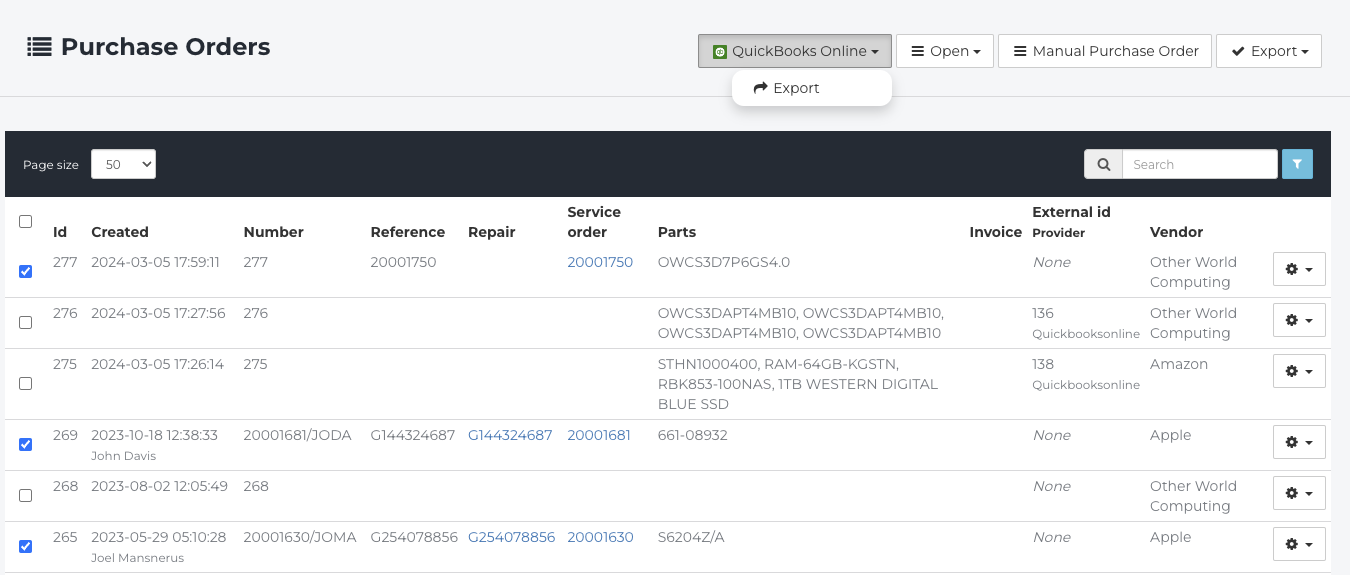
Purchase orders can be exported immediately after creation by enabling Export purchase orders in System Settings > Integrations > QuickBooks Online.

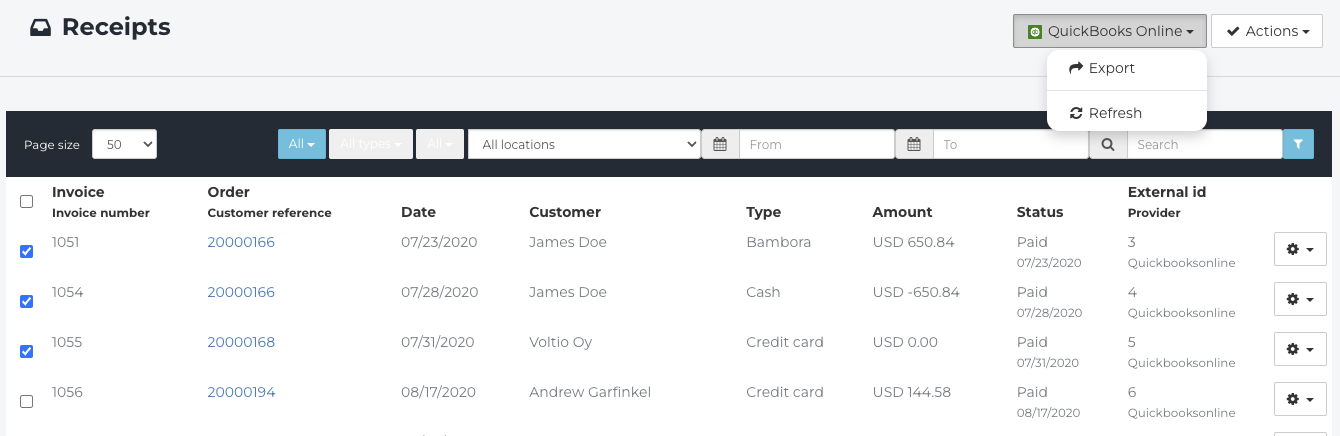
Synchronizing Invoices
Fixably automatically exports newly created invoices every 5 minutes. If you need to force an immediate export or retry exporting an invoice that failed previously, you can initiate a manual export by following the steps below.
- Navigate to Receipts or Single Invoices.
- Select the invoice(s) to export manually
- Click QuickBooks Online, then Export.